
Printed fabrics bring personality and artistry to any project - from bold florals and whimsical stripes to subtle polka dots. But to make those prints shine, how you position and match patterns is just as important as the fabric itself. Here’s how to plan your print placement, align patterns perfectly, and make large-scale designs look intentional and professional.
"I’ve always loved pattern and repetition – it’s about creating something that feels familiar but still fresh"
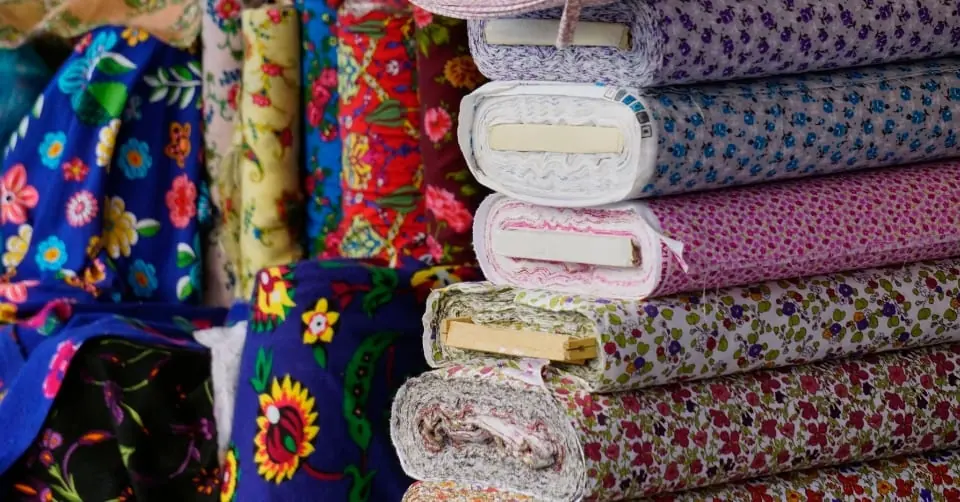
Understanding Print Types
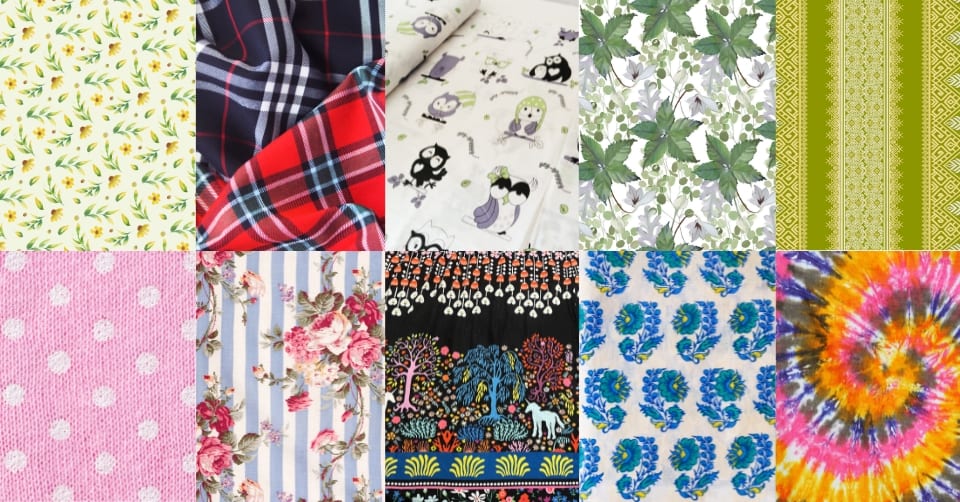
Small Repeats
Patterns that repeat often (like tiny florals or dots) are simple to align when needed and perfect for smaller garments or accessories.
Large-Scale Prints
Oversized motifs and dramatic designs make a statement but need careful placement so they don’t look chopped off or mismatched.
Directional Prints
Patterns with a clear top and bottom (think stripes or one-way florals) must be aligned consistently to keep designs right-side up.
Non-Directional Prints
Random patterns: stars, abstracts, splashes — are more forgiving and offer freedom when cutting and placing pieces.
Planning Print Placement
Design with Intention
Visualise where key motifs will appear. Avoid placing bold patterns across seams or in areas that might distort the design.
Centre and Balance
Symmetrical placement creates polish. For instance, centring a bloom on a bodice or evenly spacing stripes across a shirt adds harmony.
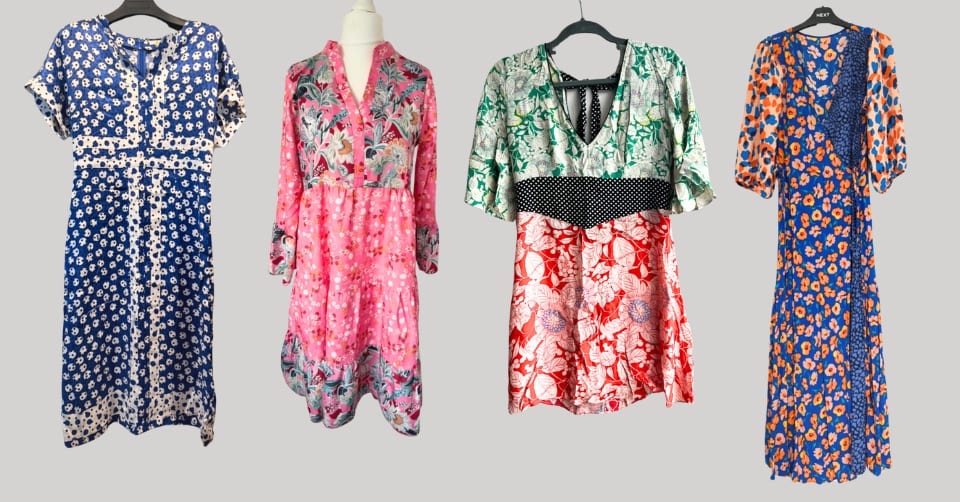
Flatter and Focus
Use print direction to enhance form — vertical stripes elongate, horizontal ones add width. Position bold motifs where you want to draw the eye.
Perfecting Print Matching
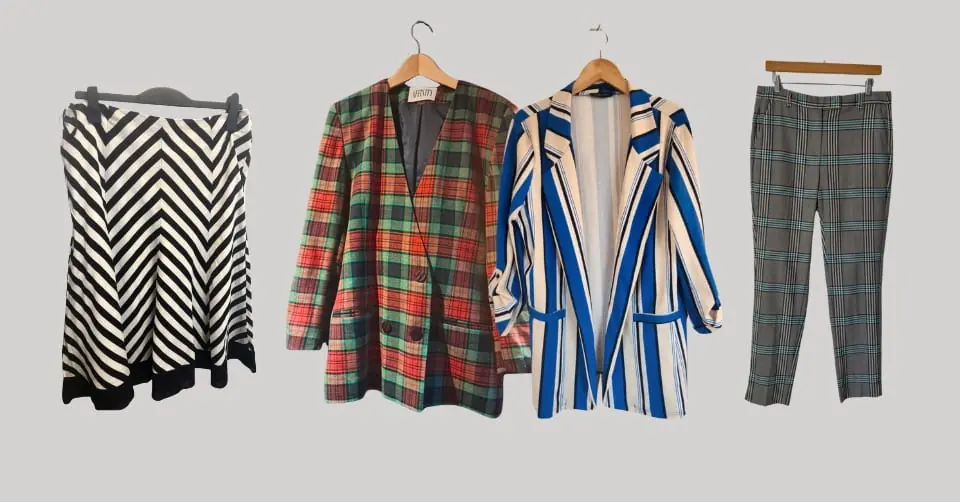
Why It Matters
Matching prints across seams creates a seamless, professional finish — essential for stripes, plaids, and geometric fabrics.
Steps for Success
Cut with care: Lay pattern pieces so motifs align along seam lines.
Pin precisely: Match motifs at edges before sewing — clips help keep alignment steady.
Get creative if needed: When perfect matching isn’t possible, add piping or panels to break transitions stylishly.
Tools of the Trade
Mark motifs with chalk or tailor’s pens for accuracy, and fold fabric along seam lines to double-check before cutting.
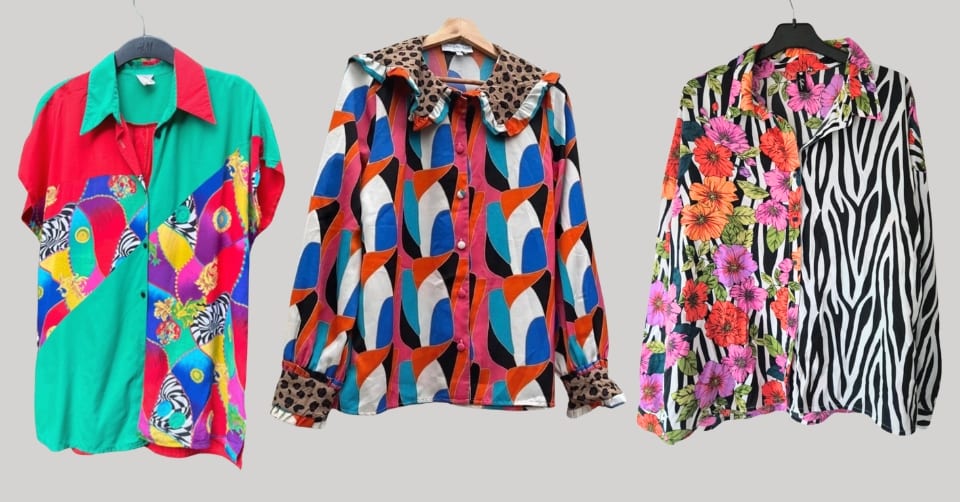
Working with Large-Scale Prints
Mind Your Motifs
Plan placement so large designs remain intact and visually pleasing. Avoid slicing through motifs that disrupt the overall look.
Balance Boldness
Pair standout prints with solids or simpler patterns to keep the design composed.
Budget for Placement
Large-scale prints often require extra fabric to allow for strategic cutting and pattern alignment — buy a little more than you think you’ll need.
Direction Matters
Check the orientation before cutting. Directional prints need every piece facing the same way, while non-directional ones grant more flexibility — ideal for less structured layouts or creative patchwork projects.
Special Techniques for Tricky Prints
Slippery Fabrics
Stabilise chiffon, satin, or silk blends with tissue paper while cutting or sewing to prevent unwanted shifts.
Border Prints & Panels
Highlight decorative edges at hems or necklines for custom flair — and plan placement so borders remain continuous.
Common Print Challenges
Mismatched seams? Add trim or lace for stylish camouflage.
Too much pattern? Balance loud prints with neutral or small-scale fabrics.
Creative Print Pairing
Experiment and have fun!
Mix prints of different scales or themes — stripes with florals, dots with checks — for dynamic contrast.
Use solids as breathing space between patterns to frame designs and prevent overload.
Tips for Print Success
Preview placements: Pin or clip pieces together before cutting.
Assess from afar: Snap a photo and check balance from a distance.
Take your time: Precision pays off — the effort always elevates the final look.
Prints are an art form in themselves. The more you experiment, the more confident you’ll become in arranging and matching patterns. Whether you’re working with playful polka dots or dramatic botanicals, mastering print placement transforms fabric into wearable expression.
Loading latest suppliers...